As part of the Design For Print brief, we have to learn new skills and try some processes out. I decide to organise a Lasercut Induction as I have never done this before and would be good primary research for my brief.
In regards to Health and Safety, the laser cut machine can only be pre-booked out for an hour a day due to the fumes that can be created. It is also a trigger for asthmatics so there are respirator masks available. If it is not set up properly, it can catch fire. Also, your not to leave the Lasercutter by itself, if you need to leave the room, you should pause the job using the Hand button.
 |
| Lasercut Display Materials |
The Lasercutter is very malleable in regards to the materials it can cut through.
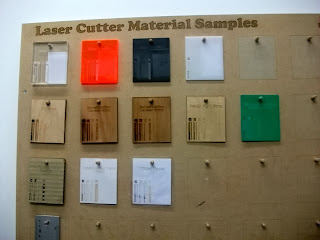 |
| Examples of Materials it cuts through |
However, there are some materials that it won't cut out:
- Metals
- Mirrors/ Reflective Surfaces will make the light of the laser bounce off (But you can use Mirror Acrylic)
- Glass (Can only etch the surface and not cut it through)
- Only 1 type of Lino works- Grey Lino with Coarse Hessian as the backing
For the induction, we were shown how the process is done using a 3mm Acrylic piece and then we had a go ourselves using a piece of 3mm MDF.
 |
| Setting Up The Laser Cutter |
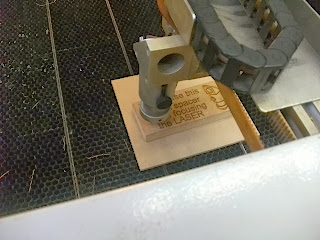
To set up the Laser, you need to put your material inside the machine and focus the laser onto the material. You do this by putting a spacer, a 12mm piece of wood, on top of the material your using and adjust the laser to the same height. To manually adjust it, you half turn the black screw and just raise and lower the cylinder. This makes sure that you have the laser at the right height for the material thickness.
 |
| Adjusting Laser Placement |
Using the Control Panel, you have to select the 3 buttons on the right hand side; the Hand Button makes the laser online to move, Then the roll of Fabric Button to say the material is inside and then Enter. Using the navigational arrows, you manoeuvre the laser beam to the bottom left corner of the material and then you do the same with the top right corner. This lets the machine know the placement of the material so it doesn't put the design in the wrong place. The machine then resets itself to show it is ready.
 |
| Examples of Cutting Options |
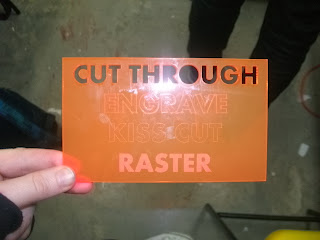
When using the Lasercutter, you have 4 options of how you can cut out of a piece of material:
- Cut Through- where the laser is strong enough to completely cut through a piece of material
- Engrave- Creates a deep outline of the shape
- Kiss Cut- A lighter version of Engrave
- Raster- Fills in the internal shape using lines
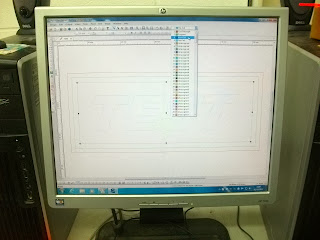 |
| Using Ethos Software |
The software that is used to work the machine is called Ethos, a program which uses drop down menus to make your selections, making Cut Through, Engrave and Kiss Cut easy to select. To Raster, you need to go to 'Object Properties- Engraving Properties- Image Enabling'. You also need to make sure that you tell the computer what material you are using every time you use it by going to 'Output- Material Manager- Set Up' then select the material you are using form the drop-down menu. To send the information to the cutter, you go to 'Output- Cut Design- Send To Cutter'. it is a good habit to get into to double check the settings before setting to cutter.
The cutter will then automatically start itself and produce the work from the software.
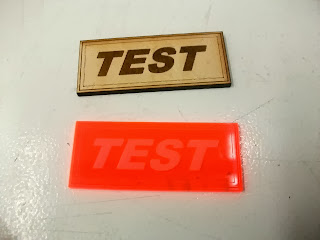 |
| Producing Lasercut Image in Acrylic and MDF |
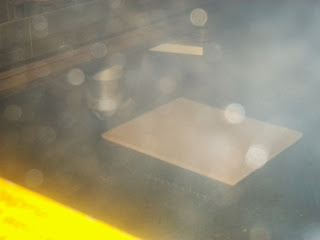
When the process is finished, the Lasercutter will stop itself and stay in the bottom corner. Leave it with the door shut for 5 minutes to let the fumes out before removing the design. Hoover off any dust residue let over from the design.
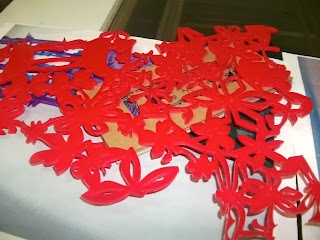
We were also shown how the Lasercutter can do the same with Image-based work as well as text-based by using Illustrator files.
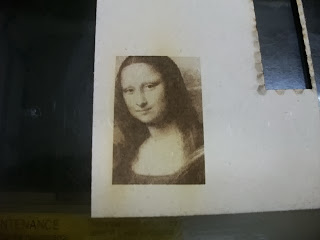 |
| Image-based Cut Out |
You can use vector-images like Illustrator files as well as normal photos to produce the image in a Raster finish. You have to make a new file and copy and paste the image into the new file on Ethos otherwise the effects will disappear. The machine will make the image based on colour differentiations but only using Raster. As Raster uses lines, you can change the spacing of the line so that it is closer together and less obvious as well as produce a negative image to create an Emboss or DeBoss. Through this process, it is able to make stamps and Embossing through Rastering.


No comments:
Post a Comment